Showing posts with label DIY. Show all posts

Monday, November 24, 2014

Vinyl Er'thang

I can't believe it has been over 6 months since I last posted!  It was a busy summer full of best friends' weddings and has been an even busier back-to-school season.  The first few weeks of Pre-K never gets any easier.  I finally have my classroom under control, running and have some time to get back to blogging a little bit.

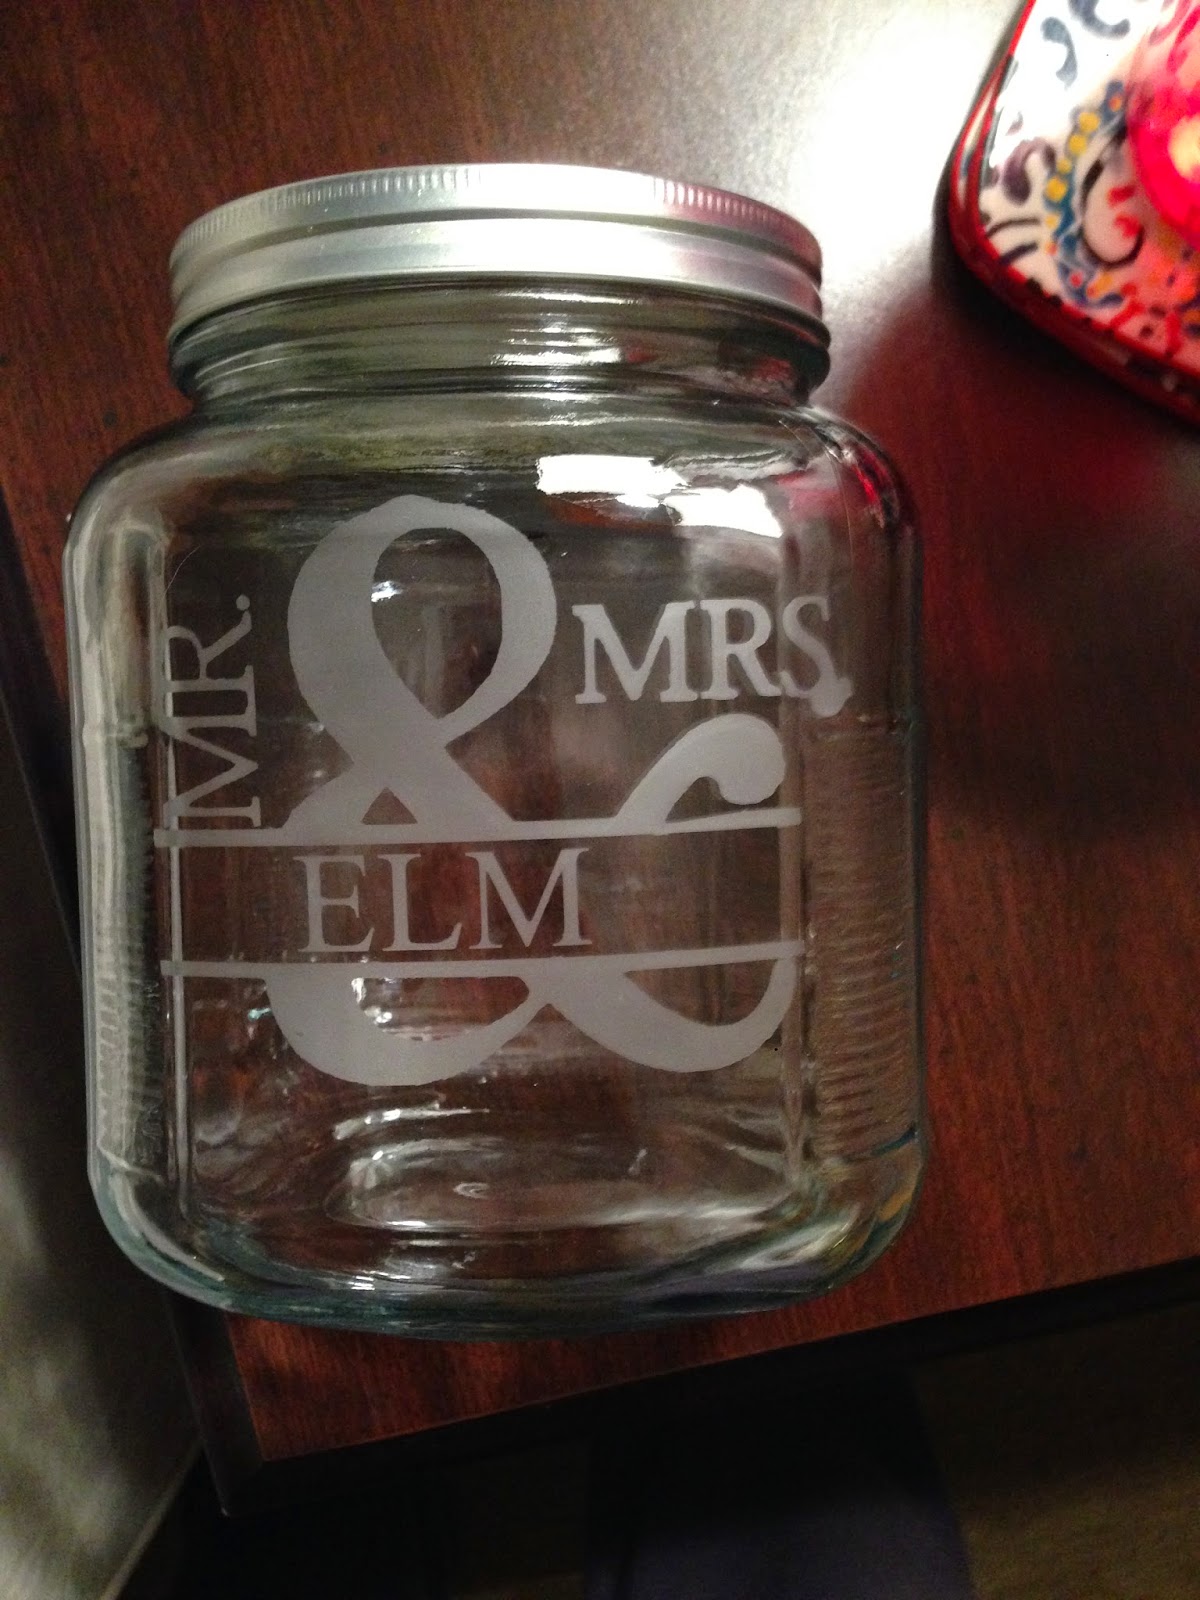
I have been putting my Silhouette to good use.  Don't sit still too long in my house or you will have a vinyl label or monogram on your forehead.

Exhibit A-E:


I have been updating our Etsy store like crazy and we are even setting up a booth in two different craft bazaars in the Atlanta area in December!

Getting all these things ready has been getting me into the Christmas spirit!  I may be one of those people who sets up their Christmas tree before Thanksgiving (again) this year.

Here is a preview of some of our Holiday Etsy listings:

Tumblers:


Cookie Tins:


Teachers' Gifts:


I'll be back soon (in less than 6 months for sure to share some of the other ways I have been using vinyl around the house and even in my classroom!


Friday, November 21, 2014

Plants and Arrows

So I have been wanting house plants everyone recently.  I went to Home Depot and picked up some plants but wasn't in love with any of the pots that I was seeing.  I had this plain plastic green pot from my failed attempt at growing cilantro this summer and thought that I could give it a little boost with all of the vinyl I ordered from the Tuesday sale at Craftvinyl.com.  (It is a really great deal and now I have more vinyl than I know what to do with.)


So anyway, I took this plain green pot and added some black outdoor vinyl so I don't have to worry about it coming off I get a little overzealous with the watering can.   


I printed the arrow pattern twice and carefully applied it to try to keep the arrows as straight as possible. (ha.)

I love that it gives the boring green pot a little bit of unexpected detail.  

What do you think?  

Tuesday, May 6, 2014

My New Toy

I have a new addiction.  I recently got a Silhouette Cameo and I LOVE IT.  I have been spending WAY too much time looking through the Silhouette Online store as well as figuring out how to make my own designs with the Silhouette studio program.  My sister has a Cricut and Sir Cuts a Lot, so I some idea how to work the program since the two programs are very similar.

I ordered my vinyl from Expressions Vinyl.  It was inexpensive and had a quick delivery time.  It is so much cheaper than buying it at Hobby Lobby, especially since you can't usually use the 40% off coupons for Cricut products, which all their vinyl happens to be.  Bummer.  

I went a little crazy on Pinterest making my inspiration board.  Here are some of the things that I'm sure I will be making in the next few weeks.  
 from here- this woman's excitement when it works makes this worth reading

I have already made a few things too!  The bottles are part of my end of the year gift for my students.  I love the way they turned out.  These boxes add a little bit of organization to my closet.  I need all the help I can get!


These are just a few of the many projects in the works.  Vinyl is not the easiest to work with and takes some getting used to.  The best trick I have learned so far is to use contact paper as the transfer paper.  I tried using painters tape first, but it was too sticky and made it very difficult to get it where it needs to go.  I can't wait to show you all of the things I create with it!  

Monday, March 10, 2014

Baby Cacti are my love language

So I have figured out that baby cacti and succulents are my love language.  I can not get enough of them right now.  They are literally all over my house. 


Recently, I found this picture on Pinterest and was in love.  Between the bright pink, the gold (maybe bronze?) pots, and succulents.  Its like they made them just for me!  


I can't find the original source, so if you know where this is from, let me know!


I'm going to admit that this started a little bit of a gold spray paint rampage.  Anything that was not breathing was getting a coat of spray paint.  Bottles, mason jars, ceramic pots, antique doorknobs, it was serious.

 
Anyway, I painted three small pots, transplanted three baby cacti and covered them up with bright pink aquarium rocks.  I am so happy with how cute and girly they came out.  They sit under my TV so I can admire them everyday!

Tuesday, December 10, 2013

My first go at upholstery

I was feeling extra brave, and extra tired of my old faded ottoman the other day and decided to tear it up and try my hand at a little upholstery.  I took out ten million stubborn staples and tore off yards and yards of faded and dirty stripes! 


I took off the skirt to give it a more modern look.  I am pretty happy with the final product, but am still on the lookout for some little vintage legs to replace the casters that I reattached.  Now I just have to work up the courage to tackle that love seat!  

Tuesday, October 8, 2013

So much time, so little to do!

It really is a great problem to have two weeks off work and no responsibilities to fill your time!  To start off my intersession/Fall Break the right way, I jumped into a little project.  The fact that I have to return my sister's Cricut to her after a few days months, kind of lit a fire under my rear to get some projects started and finished!

A few weekends ago, I made these covers for my dog's beds.  I used a $3 flat sheet from Walmart and sewed it like my millions of pillows, envelope closure style.  It is really the easiest way to sew a pillow case and it allows me to easily take it off and wash it.

So I don't have any pictures (oops), but the covers were pretty boring.  Tan and dull.  So I wanted to personalize them for the pups.

First I cut a stencil with the Cricut onto card stock for each of them and used Frogtape to hold it down.  I put a few magazines inside to keep the paint from bleeding through to the back.

(Charleigh approves)

Then I used this Tulip Fabric Paint.  I wanted a dark grey, so I mixed a little bit of Glacier White into Ebony.  I used the stencil sponge brush (maybe I just made that up) to dab the color on lightly.  I did two light coats.


The bottle says let it dry for four hours and then wash after 72.  I'm way too impatient for that second part so I waited about five and threw them on to try them out!  


Side note:  It is next to impossible to get these two to lay down in their beds.  Also, to get a picture of Sarge before he moves.  He may need medication.    

ALSO, Sarge clearly cannot identify his name in print.  I am a disgrace of a Pre-K teacher.  


Sunday, July 14, 2013

Alligator Mobile

My sister is having a baby boy in August (!!)  and she found the cutest alligator bedding at Target.  So of course I ran with that and planned an alligator baby shower.  When looking for ideas on Pinterest, I came across this simple and adorable mobile. So cute, but $58?  I figured I could whip one up on my own in my copious amounts of free time this summer!
Madras Star Mobile Via Etsy
Since I had already stolen my sister's Cricut to make decorations for the shower, I decided to try to make an alligator version of it.  I found an image online of an alligator, used Sir Cuts Alot to trace the image and the Cricut to cut out about a  million tiny alligators.  I used fishing line to string them on and attached them to a metal floral ring from Hobby Lobby, using beads to keep them in place and weigh the string down a little bit.  While I was working, I taped them to the wall with some FrogTape.  I was hoping that the line would straighten out with a little time.  


  I used white ribbon to hang it from the ceiling.  It is precious if I do say so myself!  Here is the final product!


Wednesday, June 19, 2013

Patriotic Wreaths

Don't you love all the wreath ideas on Pinterest?  There are about 15 that I want to make for each season and holiday.  This week I made a super cute patriotic wreath for the Fourth.  I followed this tutorial and I am so happy with how it turned out!  The only thing I added was a cute red, white, and blue polka dotted ribbon to hang it.   
The original via Pinterest


Mine!

Update:  You can now buy these in our Etsy shop- TwoCraftySeesters!  Check it out and pick one up!

Wednesday, May 22, 2013

As this is the first summer as an official homeowner, a lot of my time will be spent beautifying my not-so-beautiful yard.  Nothing to give you some motivation like a notice from the city saying they are going to fine you if you don't have your yard cut in three days time!  I realized it was time to pay the green space a little attention.  I now a proud owner of my very own lawnmower, but that is just a start.  These are some of the projects that I am hoping to get finished started this summer.  Feel free to stop by and lend a hand!

1.  Mosquito grass:  Last summer, every trip out to the car or the trash can was a serious mission.  We would have to suit up in long sleeves and pants, which was not ideal in the 110 degree Nashville summer.  I will be planting this lemongrass which repels mosquitoes in every nook and cranny of my backyard.
2.  Rain barrel:  One inch of rain can produce as much as 700 gallons of rain off a typical roof.  By capturing rain in this 55  gallon barrel and using it to water all that lemongrass, I can save both money and water.  It's a win-win!
3.  Outdoor chandelier: It's just so pretty!  Perfect for enjoying summer nights on the porch!
4.  Tree Bench:  Let's see how those mean people at the city feel about my yard after this is complete!
5.  Climbing plants:  This is just the thing I need to block out my less-than-ideal neighbors.
6.  Wine bottle citronella candles:  Again with the war on mosquitoes.  They will not beat me this summer!